Annotate edits & reference images
Two ways to control an image without re-rolling on Sunra: annotate-and-edit a specific region (local inpainting), and steer results with reference images and @ mentions.
Two features give you fine control without starting over: annotate-and-edit changes a specific part of a result, and reference images steer a generation toward a look, subject, or composition. Together they're how you go from "close" to "exactly right."
Annotate-and-edit a region
Click any image result to open a full-screen editor. Mark the area you want changed, type an instruction, and Sunra regenerates just that part — the rest stays put. The toolset:
- Select, Brush, and Rectangle — define the region to edit.
- Text — add or place words.
- Eraser — remove from the marked area.
- A color picker for the brush and text.
Worked example. You generated a portrait you like, but the shirt is the wrong color and there's a stray cup on the table:
- Brush over the shirt → instruction: *"make the shirt forest green."* Regenerate.
- Rectangle around the cup → instruction: *"remove the cup, fill with the wood table."* Regenerate.
Two small passes, and everything you already liked — the face, the pose, the light — is untouched.
Annotate vs re-prompt
- Annotate when the image is right except for one area — a detail, an object, a word.
- Re-prompt when the whole composition or style is off and you want a fresh take.
Editing preserves the parts you already liked, so it's usually the cheaper, faster path once a generation is close.
Reference images and @ mentions
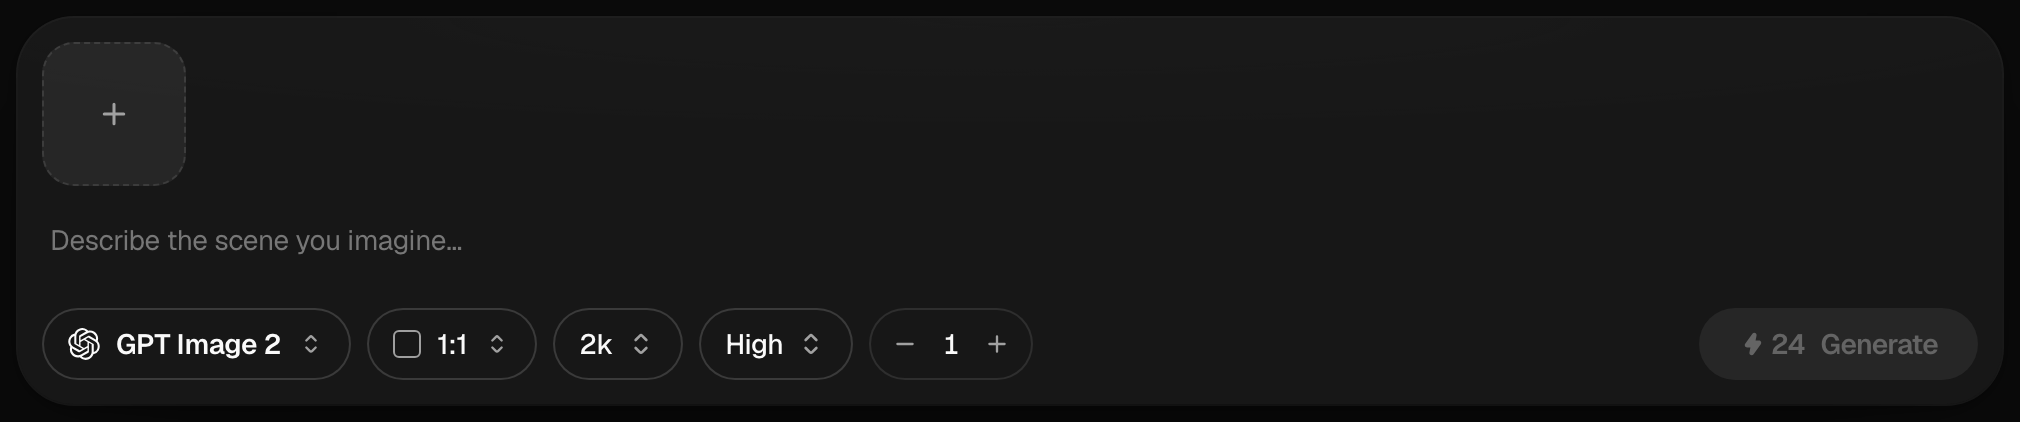
Attach up to 10 reference images — upload, paste, drag, or "use as reference" from the gallery — to guide style, composition, or a specific subject.
While writing the prompt, type @ to point at a specific attached image:
Dress @Image1 in the jacket from @Image2, in the setting of @Image3.
It's the cleanest way to combine several references into one shot, and it removes the ambiguity of "the blue one" when you have multiple images attached.
Tips
- Keep edit instructions small and specific — one change per pass beats a paragraph of changes.
- For references, attach images that are sharp and on-message; a cluttered reference muddies the result.
- Stack the two: generate with references, then annotate-and-edit the last detail.
For the broader image workflow and model choices, see Image generation basics and Prompting for images. For standalone fixes like background removal or upscaling, see Editing & cleanup tools.
Related articles
- Image generation basicsWrite a good image prompt, choose between models like GPT Image 2, Nano Banana Pro and Seedream 5.0, use reference images, and edit results with the annotate tools.
- Prompting for imagesA practical method for AI image prompts on Sunra: a reliable structure, weak-to-strong rewrites, the style and lighting vocabulary models understand, references, and fixes.
- Editing & cleanup toolsSunra's one-purpose editing tools: background removal, upscaling, face swap, photo restoration, image-to-image restyle, text fixes, and angle changes — when to reach for each.